Showing posts with label Farmhouse kitchen. Show all posts

Thursday, December 20, 2012

Absolutely "Must-Have"


Cookies are made of butter and love...


Our family loves Christmas goodies, and most of what I make for them are treats like Chex Mix, dipped pretzels, Yurtles, things like that, but the ONE THING my family INSISTS on as a must-have for Christmas it is sugar cookies cut out and frosted.

I don't get fancy on the frosting, I just make SURE that the frosting tastes good, and the frosting goes on for taste only.  8)

I hope you enjoy these good old-fashioned sugar cookies, our family sure does!


Old Fashioned Sugar Cookies
Oven @ 350 for 8-10 minutes
(I prefer mine MORE done, you might prefer yours softer and less done.  I like my edges browned and a crunch when I bite into the cookie.)

5 c. flour
1/4 t. soda
2 t. baking powder
1/2 t. salt
1/2 t. nutmeg 
(or a pinch more!)

Sift these ingredients and set aside

In your Kitchen-Aid mixer bowl, with the dough paddle on, cream together:

2 c.sugar
2 sticks of butter, 
softened to room temp
1 t. vanilla
2 eggs
6-8 T. milk

Mix to fluffy stage and then start adding flour a little at a time, then mix to correct consistency for rolling out and cutting.  Spread flour and roll out dough and cut into shapes.

I have to make at least four batches to have enough for everyone!  This is a family project, I get everyone in on it, cutting out, baking and frosting.  I generally do all the mixing.

Then I make a batch of frosting using butter, almond flavoring as well as vanilla, and beat in powdered sugar with alternate glops of milk and let it go in the Kitchen-aid until it's a smooth consistency and no longer tastes gritty.  

Then I make all of us sit ourselves at the table with trays full of cookies and we all frost!  Otherwise, this would take a whole day and night to get done!


Never throw out those gorgeous burned-out C-7's or C-9's.
I collect mine in a enamelware bowl in the middle of the table at Christmastime,
for a colorful Christmas centerpiece.
They support a glittery snowflake, just pushed down in the center.


Old-fashioned bubbles lights gurgle away on my dining room windowsill.


Tell me...

WHAT are your FAVORITE Christmas goodies?  


Wednesday, December 12, 2012

Ugly Pictures: Good Peanut Butter Frosting!


My husband had a birthday not long ago.

His cake request this year was chocolate with peanut butter frosting.

I concocted something I think you'll like.

Pardon the ugly pictures!!

iPhone has a little ways to go before they're top notch in the camera department!  LOL! 


(COOKING BY THE SEAT OF MY PANTS, I don't really measure, I just do it and estimate how much I'm using!)

Smooth & Creamy PEANUT BUTTER FROSTING

Into my Kitchen-Aid mixing bowl I put:

The smallest carton of whipping cream (1/2 pint?) and I whipped it until stiff peaks formed, then set it aside in a separate bowl.

Then to the empty mixing bowl I added:

2-3 T. room-temperature butter
2 teaspoons vanilla
1/4 c. (or more) creamy peanut butter

Then I whipped it good and then I added lots of powdered sugar....didn't measure, I just kept adding until it looked like the quantity of frosting I needed.  (I had two round 9" layers to put on my pedestal cake stand.)

When it was all smooth and creamy, which takes a good long time, I then added a half package of softened cream cheese.  Whip that into your frosting that's already in the bowl until it's really good and all smooth.  Taste it!  It's good just like that!

Now add back in the whipping cream you made first, blend everything until smooth.  Taste it.  Die.

Then frost the chocolate layer cake with it.

HE LOVED IT!!  That's why I'm publishing the recipe so I don't forget what I did to get that awesome peanut butter frosting!   :)


Monday, December 3, 2012

Farmhouse Diner: How To: Make Beef or Venison Stew


What's that story in the Bible about someone giving up their birthright for a stew?

Yep, men LOVE stew....it's just in them, I think from the beginning.

In the beginning, men loved stew.


I'll teach you how my mama taught me.

STEP ONE:  Flour, seasoned salt and plenty o' peppa.  Coarsely ground peppa. (When you are done dipping, keep the extra cuz you'll need some of this for the roux for the gravy.)

First, get your beef or venison stew meat thawed, and then several hours before you want to eat, get your meat ready to brown.  This is the messiest part, but I believe it makes the stew worth the while.

So do the men.

When you are browning this up, just hope no men are home, because it always brings the men into the kitchen to ask "What are you cooking?" and then the inevitable:  "Can I have some now?"  For that reason, I always get at least two packs of our venison stew meat from the freezer....


STEP TWO:  Rollllll 'em, dip 'em and slap 'em in the pan (that has a little oil in it that's hot 'n ready...) leaving a little room between each piece for excellent browning.


Sizzle....sizzle....snap!  OUCH!!


Sorry about some of these pics, I did all the pics for the whole post with my iPhone...


Keep on going until all those little individual tasty venison nuggets are done!  


(My youngest would be the happiest with a plate of this, forget the veggies.)


STEP THREE:  Drain on paper towels.


STEP FOUR:  Salivate. (Not really.)


STEP FOUR:  Make a roux for the graaaaavy....first though, drain off most of the extra oil you browned the meat in. 


Whip that leftover seasoned flour into the pan while you stir, stir, stir and get all the tasty bits off the bottom of the pan.  


You know the deal with a roux, get the flour nice 'n browned, then you pour in water all the while you are still whipping the roux....stir until you get a look of good stew gravy.


STEP FIVE:  Prepare those root vegetables like onions, carrots, potatoes, all the goodies here came from our garden.  Add celery, if you want for flavor.  

I only wash carrots and cut them roughly in irregular sizes for a good primitive look.  Isn't that how stew should look, not all uniform and perfect?


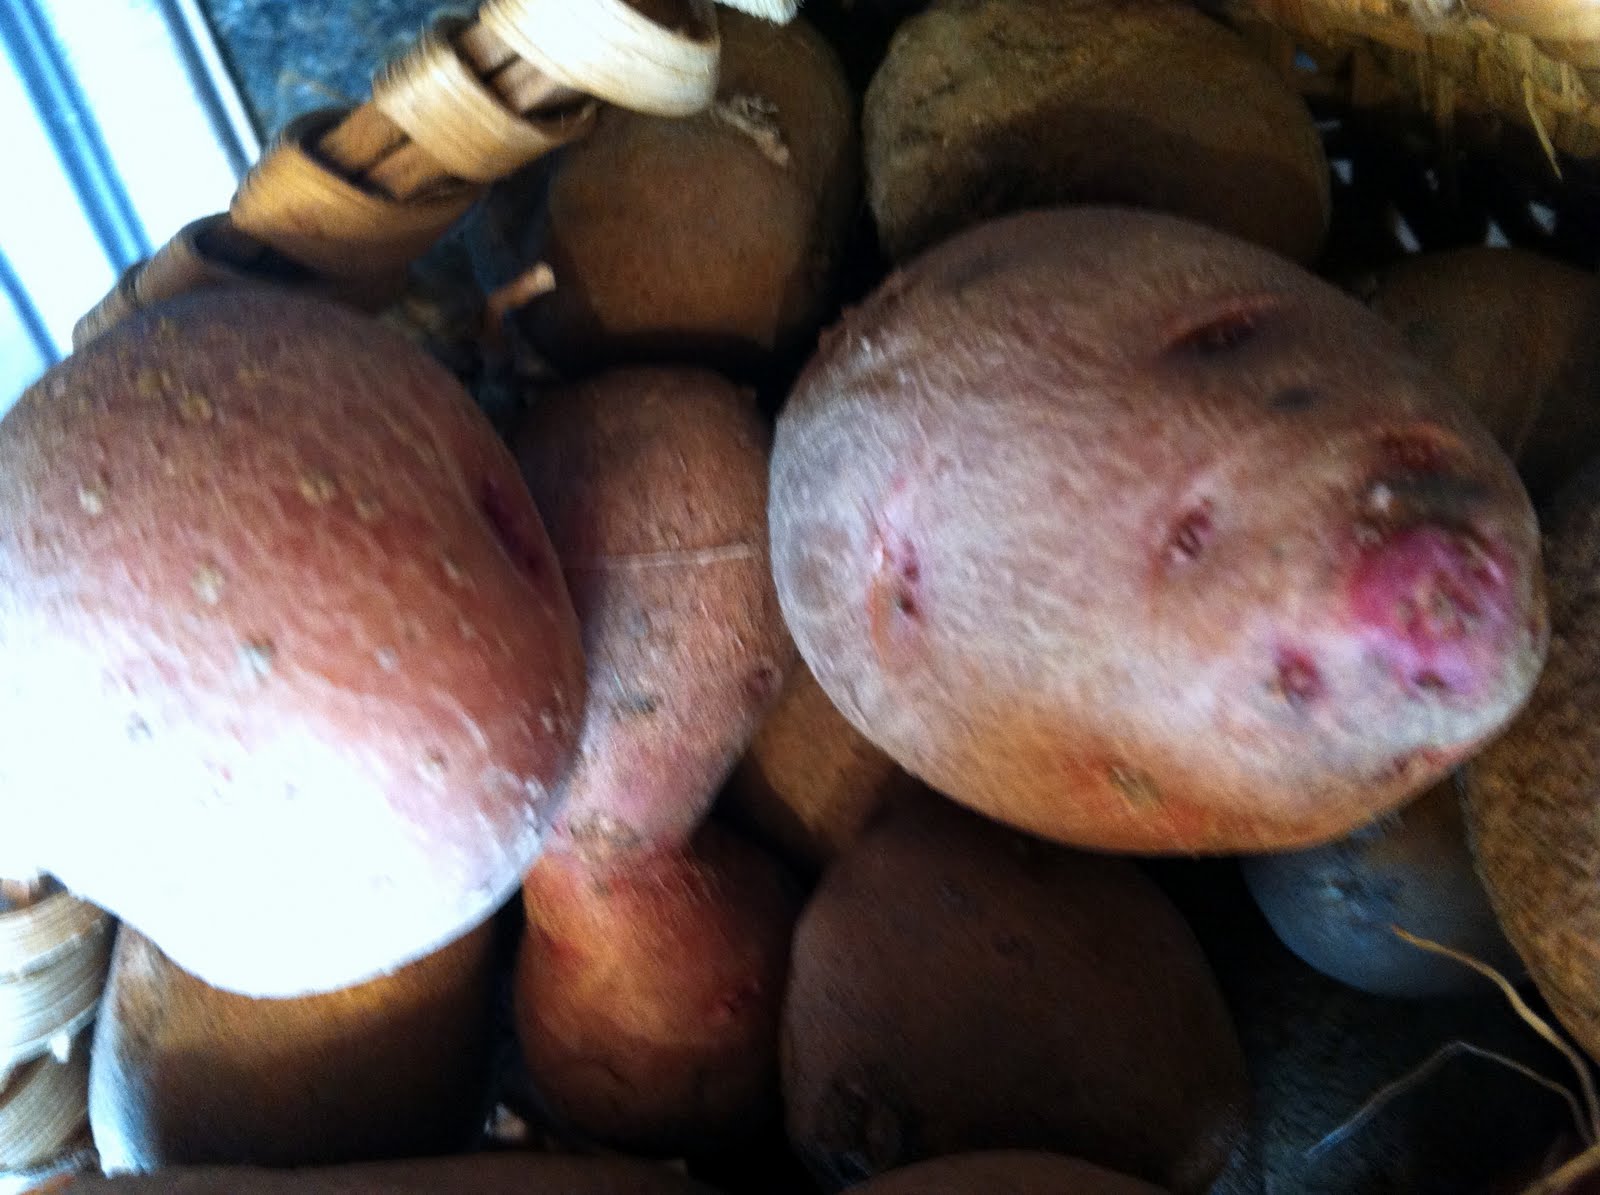
For our stew, I like to go to our potato bin and get all the oddball ones from that year's crop and use the tiny or misshapen ugly potatoes for stew.  

I wash them well, but I leave the peelings on, especially these red ones.  Some will need to but cut up, and some left whole, but I do like a rough-looking stew, it's STEW, man!


STEP SIX:  Throw a bouillon or two into the gravy pan.  Why?  Because the potatoes and the carrots will cook and need to absorb some of the salt or your stew will be bland, baby. 

No bland stew.  No no no.


STEP SEVEN:  Get your old turkey roaster out (this gives the best finish, best flavor to the stew, but that's just my opinion, you just use your favorite oven pan...).  

Add all the meat, vegetables, and your excellent roux gravy.

(I leave my celery and onion whole because one of my guys don't like that in their stew, but I like the flavor it gives.  When the pan is done, I can remove the whole onion and the celery pieces before serving.).


STEP EIGHT:  Bake in a 300 degree oven for several hours until it looks right, and all the vegetables are soft.  Make sure from time to time it's not drying up, you may need to add a bit of water and stir here and there.  Remember you need enough liquid for the potatoes and carrots to absorb before you bake.  When it's done and it's still not dinnertime, turn the oven down low to keep it warm and then serve.

And there you go.  

Something delish and filling on a cold night--something that one man sold his birthright for.

(By the way, I don't require that of my boys.)


Beef or venison stew:

1.  Make a flour and seasoned salt/pepper mixture
2.  Dip pieces of stew meat to cover each one
3.  Brown each piece individually in a hot pan with a little oil
4.  Make a roux using leftover flour, to make the gravy with pan drippings
5.  Wash and prepare the vegetables you want to use and chop them roughly
6.  Add the gravy with some extra water and some beef bouillon.
7.  Add all the meat and veggies to a roaster 
8.  Bake several hours at 300.

Serve warm right from the pan and add cornbread or a salad for an excellent winter meal! 


Monday, October 8, 2012

Start to Finish: A Photo Essay


It is a pleasure when nothing else is on the agenda for a sunny Saturday but getting the tomatoes done, and I can enjoy the whole ritual.  Today I am sharing that with you in photos.  


There are so many lessons in gardening and canning:

Initiative. Starting hard things.
Perseverance. Work from months ago eventually pays off.
Dependability. Doing it whether you feel like it or not.
Planning. There is reward in being prepared.
Freedom. Making your own food is being independent.
Tidiness. Clean up is part of the process, just not part of the fun.
Reward. Satisfaction usually comes at a price!
Payoff. Completing a task is often its own reward.
Appreciation. Simple things make one feel the richest.


I also am happy that I am and have been imprinting my children with the rewards of hard work, and that they will always remember late summers when the house smelled like tomatoes!  


Life sometimes is a grind...but it's worth it all in the end.


In coming winter days, I can look forward to soups and stews 
blub, blub, blubbling away on the stove.  

In other words...

Contentment.


One of the sure signs of late summer is tomatoes coming in and the kitchen full of canning supplies.

I try not to can unless I have a whole bushel ready because the mess just isn't worth it otherwise.  :)

Assembling and gathering all of the supplies and getting everything ready to be organized and make it all go smoothly, is part of the process.

I am thankful for the changes of the seasons we can mark our years by, aren't you?


Friday, September 7, 2012

Tomato Juice


Picked a couple bushels of tomatoes the other day...Luke went out and we worked together.

What pleasant conversations can be had in the garden!


Made some beautiful tomato juice once we got them all in and washed.  Already took the chance to turn some of into some spaghetti sauce.  It's like having the taste of summer in a jar, truly.

The whole process from start to finish is a whole lot of work, but rewarding?  Certainly!

Then I get to cleaning up the gigantic mess and I wonder...is it all worth it?

Yes, I think so.


In summers to come, my kids will have memories of late summer and early fall days with the house smelling like tomatoes and recall the ways they helped, and how delicious it all tasted later during winter evenings.

It's a tangible way to love and provide for our families.

There's something about it .... That makes me keep doing it.

The sound of the lids popping as they seal, writing the date on the lid, lining up all the jars on a pantry shelf...the pride that I feel when the job is done and the food is safely stored away for winter.

(Did you know that if you cut the tiny tip off a Roma tomato, that after you scald it, the whole tomato just pops right out when you hold it up by the bottom!  No need for the skin to split!  Just hold upside down, squeeze, and PLOP!  This is one of the reasons I love the Roma!)


Wednesday, September 5, 2012

Summer's Bounty...Pasta Salad


When summer draws to a close, thoughts of missing all the good stuff a garden brings makes me want to take advantage of it while I can.

Even though the garden right now looks like a tangled riot of weeds and just a regular old mess...it's still got goodies to glean.

(Our pumpkins have OVERTAKEN our whole garden with all the rain we've had in the last month!)

Here is a good recipe to use for a great salad for lunch or dinner, I loved it and wanted to share.  It is easily adaptable to whatever you have coming in the garden right now.


Smoked Ham & Veggie Salad

1 pound box of bow-tie pasta
1-2 C. smoked ham, diced
1 C. shredded cheddar cheese
1 C. frozen peas
1 large cucumber, peeled and chopped
1/2 bell pepper, chopped
1-2 C. grape tomatoes or a regular tomato seeded and chopped
1 C. buttermilk dressing
*I added about 1/4 C. bacon bits 

Keeps up to three days in the fridge, and tastes better with a little chillin'! 

ENJOY!