Showing posts with label Farmhouse Diner. Show all posts

Monday, December 3, 2012

Farmhouse Diner: How To: Make Beef or Venison Stew


What's that story in the Bible about someone giving up their birthright for a stew?

Yep, men LOVE stew....it's just in them, I think from the beginning.

In the beginning, men loved stew.


I'll teach you how my mama taught me.

STEP ONE:  Flour, seasoned salt and plenty o' peppa.  Coarsely ground peppa. (When you are done dipping, keep the extra cuz you'll need some of this for the roux for the gravy.)

First, get your beef or venison stew meat thawed, and then several hours before you want to eat, get your meat ready to brown.  This is the messiest part, but I believe it makes the stew worth the while.

So do the men.

When you are browning this up, just hope no men are home, because it always brings the men into the kitchen to ask "What are you cooking?" and then the inevitable:  "Can I have some now?"  For that reason, I always get at least two packs of our venison stew meat from the freezer....


STEP TWO:  Rollllll 'em, dip 'em and slap 'em in the pan (that has a little oil in it that's hot 'n ready...) leaving a little room between each piece for excellent browning.


Sizzle....sizzle....snap!  OUCH!!


Sorry about some of these pics, I did all the pics for the whole post with my iPhone...


Keep on going until all those little individual tasty venison nuggets are done!  


(My youngest would be the happiest with a plate of this, forget the veggies.)


STEP THREE:  Drain on paper towels.


STEP FOUR:  Salivate. (Not really.)


STEP FOUR:  Make a roux for the graaaaavy....first though, drain off most of the extra oil you browned the meat in. 


Whip that leftover seasoned flour into the pan while you stir, stir, stir and get all the tasty bits off the bottom of the pan.  


You know the deal with a roux, get the flour nice 'n browned, then you pour in water all the while you are still whipping the roux....stir until you get a look of good stew gravy.


STEP FIVE:  Prepare those root vegetables like onions, carrots, potatoes, all the goodies here came from our garden.  Add celery, if you want for flavor.  

I only wash carrots and cut them roughly in irregular sizes for a good primitive look.  Isn't that how stew should look, not all uniform and perfect?


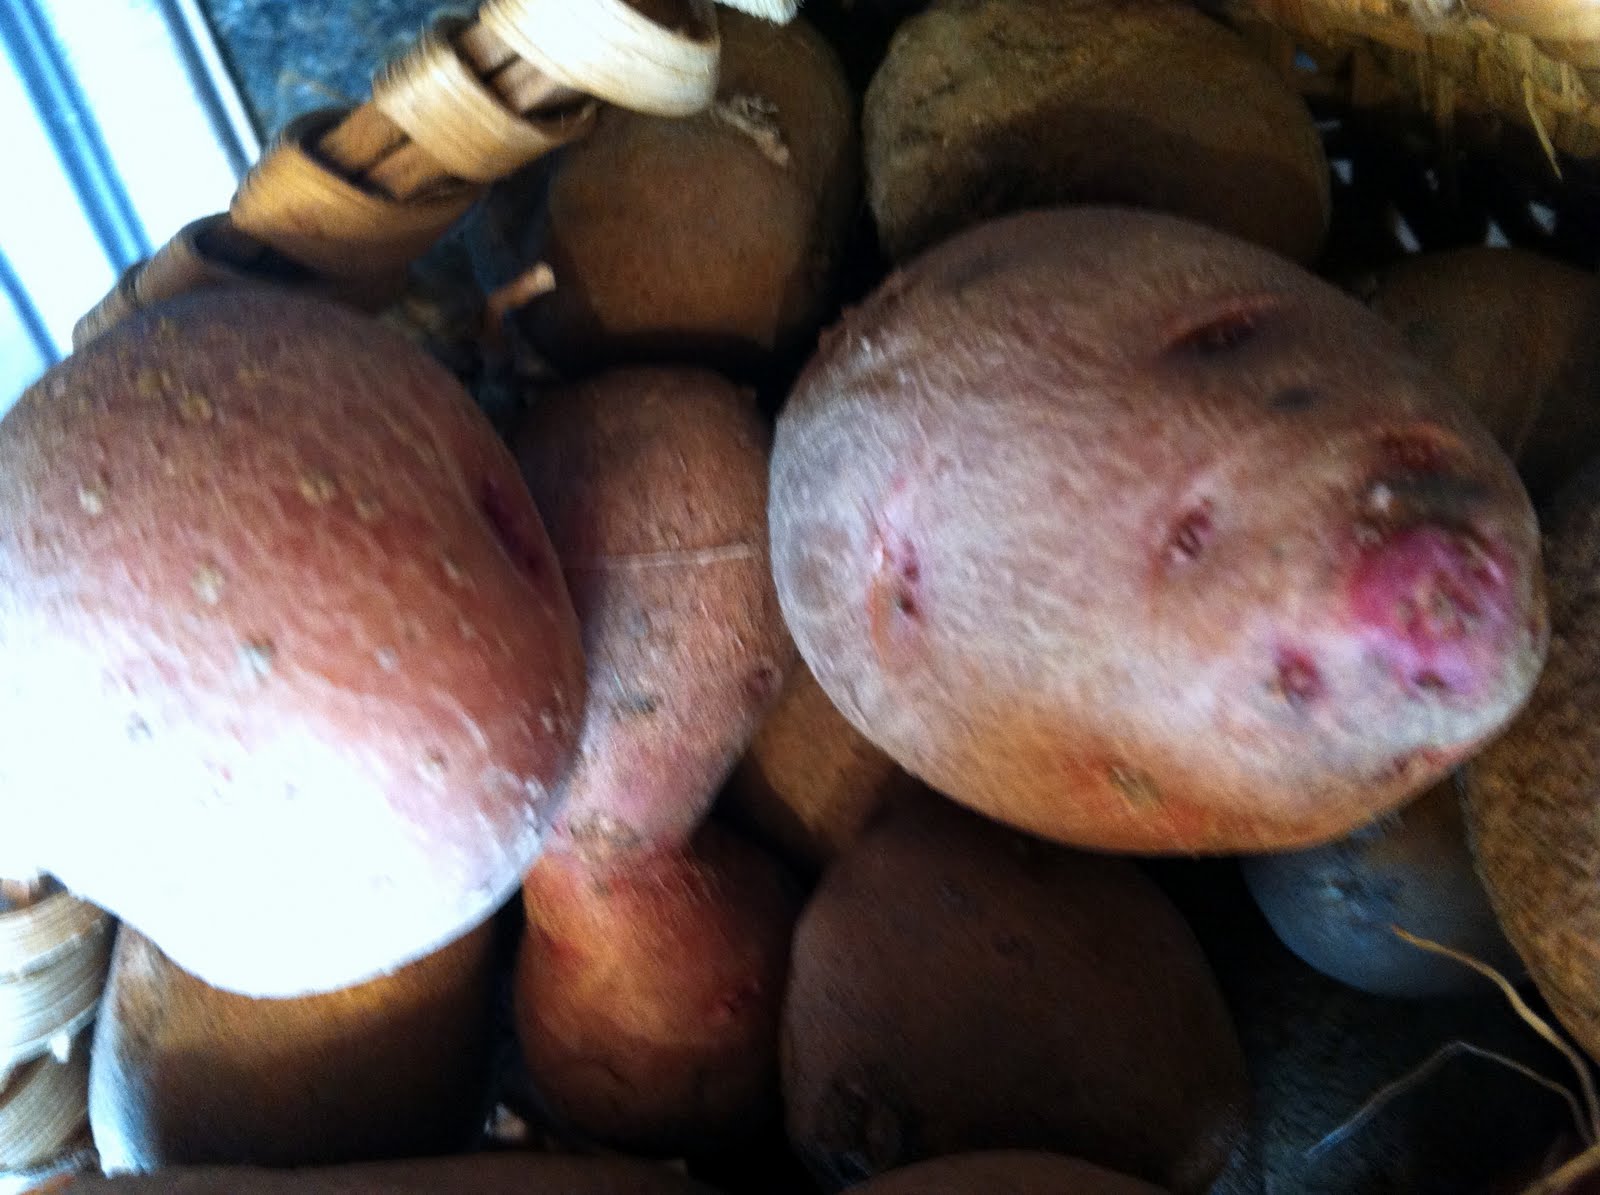
For our stew, I like to go to our potato bin and get all the oddball ones from that year's crop and use the tiny or misshapen ugly potatoes for stew.  

I wash them well, but I leave the peelings on, especially these red ones.  Some will need to but cut up, and some left whole, but I do like a rough-looking stew, it's STEW, man!


STEP SIX:  Throw a bouillon or two into the gravy pan.  Why?  Because the potatoes and the carrots will cook and need to absorb some of the salt or your stew will be bland, baby. 

No bland stew.  No no no.


STEP SEVEN:  Get your old turkey roaster out (this gives the best finish, best flavor to the stew, but that's just my opinion, you just use your favorite oven pan...).  

Add all the meat, vegetables, and your excellent roux gravy.

(I leave my celery and onion whole because one of my guys don't like that in their stew, but I like the flavor it gives.  When the pan is done, I can remove the whole onion and the celery pieces before serving.).


STEP EIGHT:  Bake in a 300 degree oven for several hours until it looks right, and all the vegetables are soft.  Make sure from time to time it's not drying up, you may need to add a bit of water and stir here and there.  Remember you need enough liquid for the potatoes and carrots to absorb before you bake.  When it's done and it's still not dinnertime, turn the oven down low to keep it warm and then serve.

And there you go.  

Something delish and filling on a cold night--something that one man sold his birthright for.

(By the way, I don't require that of my boys.)


Beef or venison stew:

1.  Make a flour and seasoned salt/pepper mixture
2.  Dip pieces of stew meat to cover each one
3.  Brown each piece individually in a hot pan with a little oil
4.  Make a roux using leftover flour, to make the gravy with pan drippings
5.  Wash and prepare the vegetables you want to use and chop them roughly
6.  Add the gravy with some extra water and some beef bouillon.
7.  Add all the meat and veggies to a roaster 
8.  Bake several hours at 300.

Serve warm right from the pan and add cornbread or a salad for an excellent winter meal! 


Wednesday, September 5, 2012

Summer's Bounty...Pasta Salad


When summer draws to a close, thoughts of missing all the good stuff a garden brings makes me want to take advantage of it while I can.

Even though the garden right now looks like a tangled riot of weeds and just a regular old mess...it's still got goodies to glean.

(Our pumpkins have OVERTAKEN our whole garden with all the rain we've had in the last month!)

Here is a good recipe to use for a great salad for lunch or dinner, I loved it and wanted to share.  It is easily adaptable to whatever you have coming in the garden right now.


Smoked Ham & Veggie Salad

1 pound box of bow-tie pasta
1-2 C. smoked ham, diced
1 C. shredded cheddar cheese
1 C. frozen peas
1 large cucumber, peeled and chopped
1/2 bell pepper, chopped
1-2 C. grape tomatoes or a regular tomato seeded and chopped
1 C. buttermilk dressing
*I added about 1/4 C. bacon bits 

Keeps up to three days in the fridge, and tastes better with a little chillin'! 

ENJOY!


Tuesday, July 17, 2012

Simplicity in the Summer


The boys LOVE burger night.


And so do I!  Love cooking them on the grill, stacking the bun and using these little diner baskets.  


Quick and easy and cleanup is simple and back to the things that make summer great! 

***

Stay cool today, almost 100 expected here today, and much of our state is in a drought.  Everything looks tired, worn out, and dried out. The grass crunches under my feet, everything is dusty outside, and we need rain really bad!  It's hard to keep the gardens going when you can't water any of it enough.


It hate wishing summer away, because we look so forward to it all winter, but fall is looking better every day!


Tuesday, June 12, 2012

Farmhouse Diner Drawing!


I have two sets of these diner baskets in sets of six I found one day while shopping with my sister, Pam, at TJ Maxx. 


I'd like to have you enter to win, if you don't already have a set!  They are fun to use, and I use them on sandwich night when we have a sandwich and chips or sandwich and fries.  I just line the basket with a paper towel.  


Clean-up is simple and kids love it!


They are so cheerful, sunny yellow and bright red!  Now don't you think you need a set?!  


Leave your name and MAKE SURE you're a follower, and that I have your email address so I can let you know that you won!  


The DRAWING will take place on Tuesday, June 19!


There will be TWO WINNERS!


Saturday, May 26, 2012

To Grill: Potato Packets aka Hobo Pies


This weekend, in addition to celebrating freedom by remembering those who have served our country, is also considered the "official start of summer"...and summer means grilling season, for many.   
A lot of us use our grills all year through and have our favorite go-to recipes, and this is one of mine.


It's versatile, and this can be made with any vegetable you have around the house that's suitable for cooking and eating--and when I do this it's called a Potato Packet because it's always a basic with potatoes as the main ingredient.  


It's also versatile for the reason that it can be a complete meal if you had some ground chuck to the packet, it cooks in with the veggies and the burger gives the flavor to the meal; and that's when it's called a Hobo Pie...


My basic recipe is with carrots, potatoes, and onion.  When I have them, we use in season goodies from the garden like zucchini and summer squash and have also used broccoli and any other number of good things that taste wonderful roasted.


Potato Packets or Hobo Pies


You will need: 


Potatoes
Carrots
Onions
Fresh zucchini or summer squash                 
Butter pats, about a Tablespoon for each packet
Foil for grill
Pam
Morton's "Nature's Seasons" or similar seasoning
*Ground chuck, if desired, for a full meal in one packet


Clean and slice your vegetables and slice them to get ready to go.  I slice the potatoes into slices an inch or less, same with carrots.  The onion is used mainly for flavoring and is best in a larger chunk.  Or, if you like, rings if you want to eat them rather than only use them for flavor.


Your foil should be just under the size of a cookie sheet because you will need room to wrap and fold over the ends and top of the packet to hold in the heat to roast your veggies, yet not have the leaking that can cause grill fires.  


Spray Pam on a sheet of foil.  Pile a single serving amount of each of the kinds of veggies, starting with the potatoes on the bottom.  On top of your little mound of goodies, place the butter and then the onion(s).  


***If you are using ground chuck, do not use the butter: instead place the ground chuck, in little chunks on the top of the stack, the steam will cook it, and the amount of fat in the ground chuck eliminates the need for the butter on your pile.


Season the whole pile with Morton's Nature's Seasoning or your own favorite.


Fold up the top, and then each end to seal the packet.


Place on the top shelf of the grill on medium heat for at least twenty minutes, perhaps more depending on the size of your packet and the thickness of your veggies.  You can test one packet with a fork, but don't poke through the bottom of the packet!


I usually place these on the grill before the meat if the meat is a twenty-minute or less job.  


 Four packets, all ready to go.  If there are leftovers, they are WONDERFUL!  


This savory seasoning is the perfect compliment to the veggies and with enough flavor infused so that the potatoes don't come out bland and tasteless.


If using butter for the flavor, your stack will look like this.  This stack is ready to seal up and cook.


This is exactly the beauty I am going for in placing my potatoes at the bottom of the stack.  


My whole family loves this entree in the summer with their grilled chicken, fish or beef.  I hope that you enjoy it, too, and feel free to leave your way of making Hobo Pies or Potato Packets and your variations used....we all love to hear other versions of what is called by the same name!


Enjoy grilling and bring on summer!  


Saturday, May 5, 2012

Farmhouse Diner: Chicken Sandwiches


I cook by the seat of my pants and I saw this recipe on Pinterest, and made it within minutes of finding it, so needless to say, I was missing a few of the ingredients.  It was Friday night and I needed something fairly simple and good for dinner that night.  I had thawed some chicken breasts, and was browsing Pinterest to find something new.  


But hey, this recipe was so good with my substitutions that I may just keep on making it "wrong"!  


I didn't photograph each step of the recipe, it's fairly simple and straightforward, I recommend a Ziploc bag rather than their recommendation of two pieces of Saran Wrap, because when I pound something with a mallet, it tends to send icky stuff flying everywhere, so I saved myself the mess and used the bag.  It worked great.


The way this turned out, my boys wouldn't mind if this was my stand-by "fried chicken" instead of my old recipe.  I tend to agree!


Why the difference?  


I honestly think it's the powdered sugar in the recipe, it gives the coating a dryness needed to be on the sandwich, and it's just PERFECT.  Who would've thought?  I substituted cornmeal for whole wheat flour and that was great, too.  I may try it next time with the whole wheat just to make sure that cornmeal is my favorite way.


Imitation "Chick-Fil-A" Sandwiches!


2 chicken breasts
Peanut oil for frying
(I didn't have peanut oil, so used corn oil instead in my cast iron dutch oven which seems to work best for fried chicken!)
Kosher salt
Pepper
1 t. paprika
1 egg
1/2 c. milk
3/4 cup flour
1/4 c. whole wheat flour
(I assumed the whole wheat was for crunch, and didn't have any, so I substituted cornmeal.)
1 T. dry milk
2 T. water
1 T. powdered sugar
1/4 t. baking soda
1/4 t. dry mustard
(I substituted soul food seasoning and Morton's "HOT" salt for all the seasonings, except for the Kosher salt and the pepper and just loved it.)


Cut breasts into four pieces, slicing horizontally.  Place the chicken in a gallon Ziploc and pound them into submission, excuse me, I mean flat pieces without breaking them.


Salt and pepper them.
Mix egg, water, milk, in a bowl.
Mix flours, dry milk, powdered sugar, soda and dry mustard in another.


Dip the chicken in the milk, then in the egg wash.


Fry in hot oil.  Drain on paper towels.  Serve with a slice dill pickle on a toasted bun.  YUM!!

**I doubled this recipe, the leftovers would be great again in a sandwich, OR, sliced into a Cobb Salad!**


This was dinner, just the sandwich, with my sun dills sliced into planks on top of the chicken, no condiments, nothing else.  It was awesome!  


Have you ever heard of powdered sugar in fried chicken before?


Thursday, February 23, 2012

Mary Jane's Breakfast Burritos!


Sun's up!  Time to get busy in the kitchen making Breakfast Burritos, a recipe I got from my Facebook friend, Mary Jane.  


She saw that I had posted about eggs being on sale at Kroger 10/$10 and she told me it was a good time to try this recipe.  She was right!  Howdy down there in Texas, Mary Jane!  Thanks for sharing the recipe with us!


Tie on a cheerful apron, gather up your goodies, and let's get to it!


Make a single batch for breakfast for your family, or make many batches for the freezer, for an easy, healthy convenience food you can use on busy days for breakfast, or for after school snacks.  


I got the sausage and the hash browns on sale, too.  It took me  a whole morning to get it done--I made four batches...  


I did a dozen eggs at a time, a dozen eggs per tube of sausage and a half-bag of hash browns per batch. You can adjust yours to your taste.


I shredded my own cheese, but you can use whatever you've got.  I used a cheddar blend, Mary Jane recommends sharp cheddar.


I cracked and scrambled a dozen eggs at a time.


Here's the recipe as I received it from my friend, Mary Jane.  I just love how she wrote it so I'm going to leave as is.

"Okay, brown a pound of sausage....I use Owen's, Jimmy Dean, whatever good sausage is on sale...the loose kind, not links...and drain in paper towel.


Add chopped onion and bell pepper to the skillet (Use a BIG one!), along with cubed frozen hash browns.


If the sausage is very lean, you might have to add a little olive oil to the pan.


Cook til tender, and add the sausage back in, a small can of green chilies, a good sprinkle of oregano (the secret ingredient!), a small sprinkle of garlic powder, salt and pepper to taste, and a dozen or so beaten eggs.


Cook slowly, scrambling the eggs, until done.  Add a good handful of grated cheddar (I use sharp).  


I wrap 4 to 6 flour tortillas (I usually use the fajita size) in wet paper towels and warm in the microwave, then, on each, place some of the filling down the center of tortilla, fold up the bottom, and then fold in the sides.  Serve with salsa, if desired.  


After we finish eating, I take the leftovers and roll in tortillas that I don't even heat.


Wrap each in waxed paper and drop into a gallon freezer bag and freeze.  Then, you can just take out whatever you need, frozen, and remove the waxed paper, wrap loosely in a paper towel, and heat two at a time for about 2 minutes, ten seconds.


This makes about twenty or more, depending on how "fat" you make each burrito.  I don't over stuff them, because if I do, it is harder to completely heat them through without toughening the tortillas.  The tortilla salesman told my son to take the tortillas home, put in the fridge or freezer, and they will keep much longer.


I use the same bag over and over...just store it in the freezer when it is empty.


I hope you and your family enjoy these as much as we do; it is one of our favorite breakfasts.


Love, 
Mary Jane"


Brown that sausage...


Drain on paper towel.


Throw in hash browns, using olive oil if necessary, with your onions and green peppers, if you please.


Add the sausage back to the pot to keep it all hot.


Scramble your eggs either with the potatoes and sausage or separately, like I did.


Gently scramble those eggs, then add them to the pot.


And then the cheese...


Season it all....don't underestimate the importance of the seasonings!


It is at this point that you add the green chiles, if you prefer them.


Roll the fajitas while they filling is hot.  Heat tortillas first ONLY if you are going to eat them for a meal, if you are making these for the freezer, do NOT heat them first.  

Down the middle goes the filling, up goes the bottom fold, and over on each side, then lay the open side down on a cookie sheet to allow the hot fillings and cheese to "seal" your burrito.

Allow to cool to lukewarm so they don't steam up in the wrapping.


Next, wrap each individually in waxed paper.


Line them up in gallon Zip-Locs for the freezer.


All ready to label.  I wrote the heating time for the microwave, as Mary Jane had suggested for us in her recipe.  


Please note:  you may need to adjust the heating time for your microwave, and adjust accordingly.  Mary Jane recommends putting the burritos in a paper towel to reheat, and two burritos she warms in the microwave for two minutes ten seconds.  


Top them with salsa and YUM!!


All done!  Depending on the size of your shell, you can get one dozen to one and a half dozen out of your dozen eggs, tube of sausage, and half-bag of hash browns.


Time to crush these and take them out to the garden, they're good for the soil! 


If you have any questions, please post them in the comments section and I'll answer them there! 

ENJOY!